


Master Bathroom Renovation - Part 1
- Jen

- Feb 4, 2021
- 2 min read
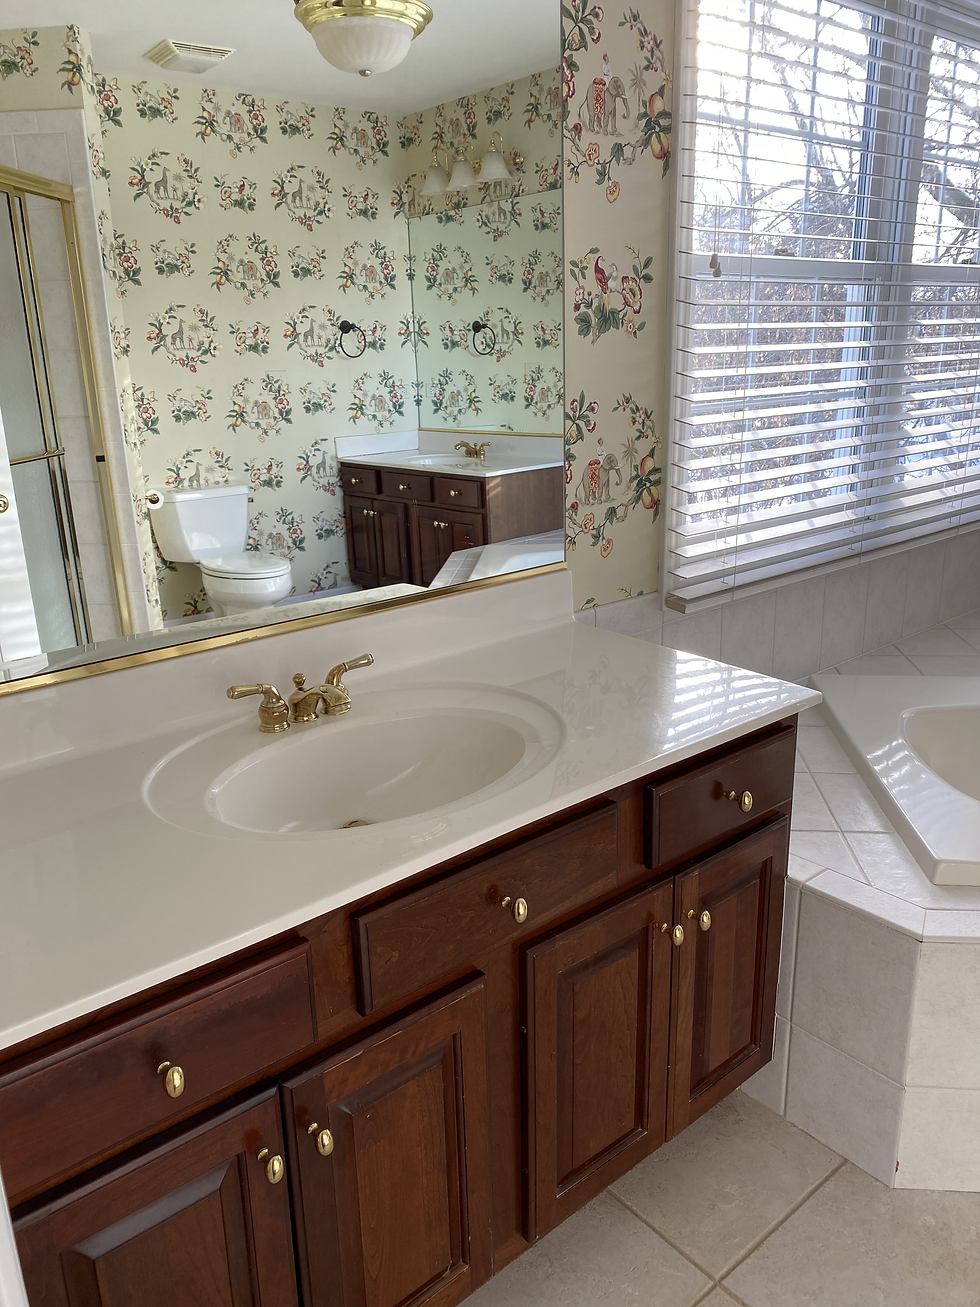
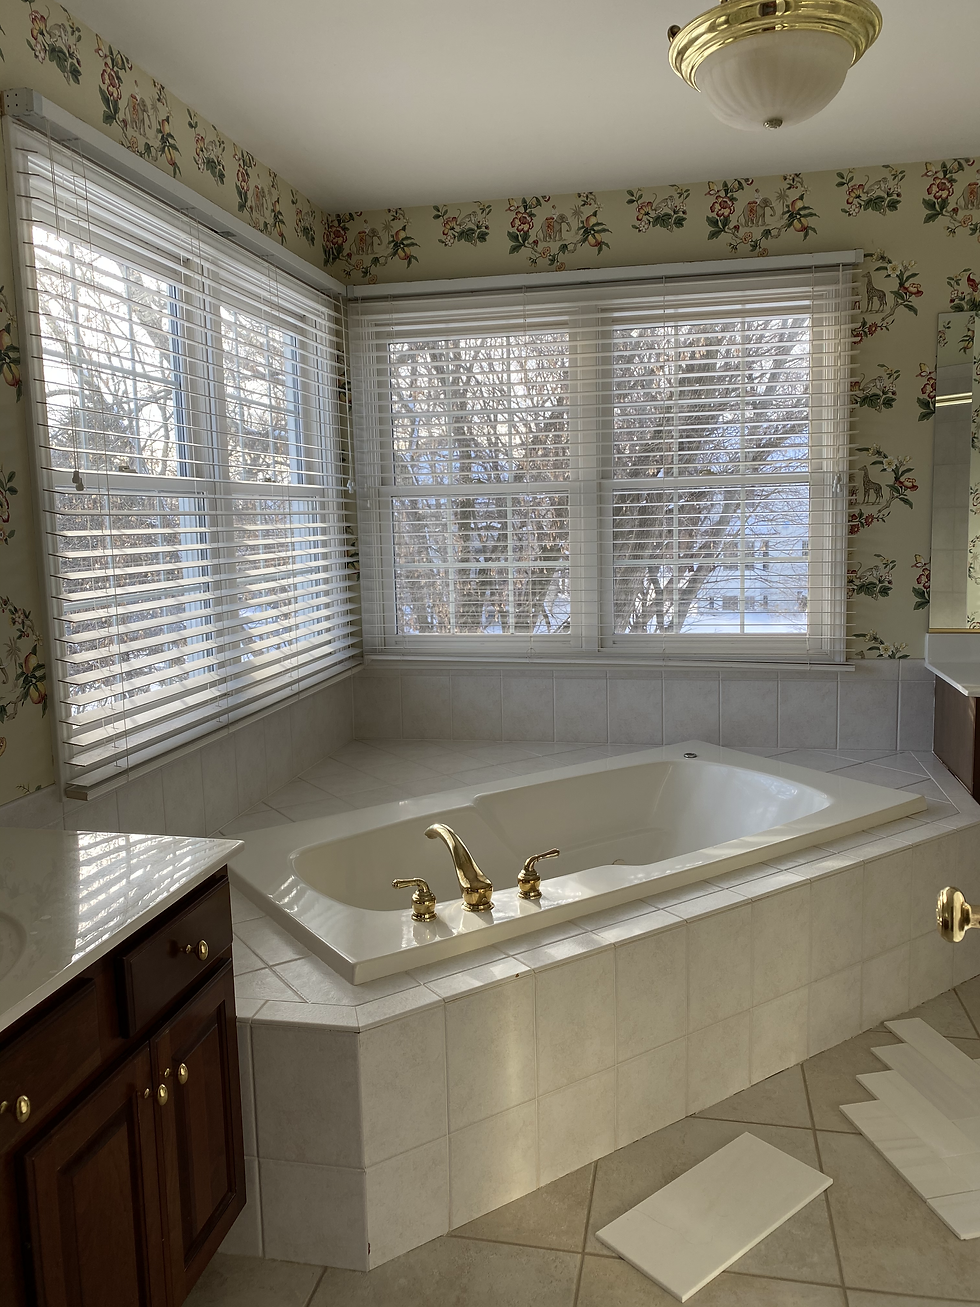
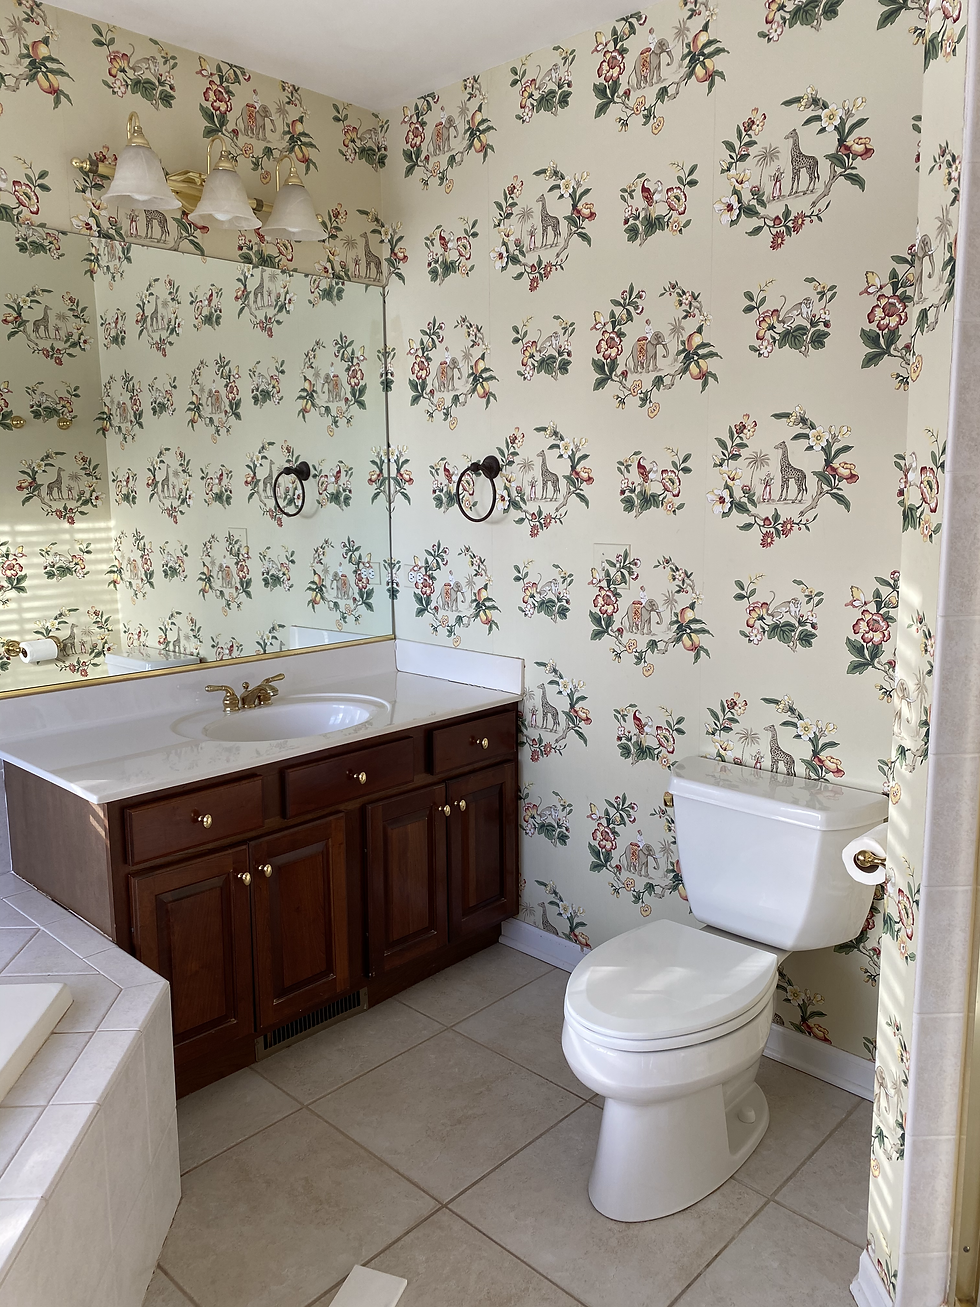
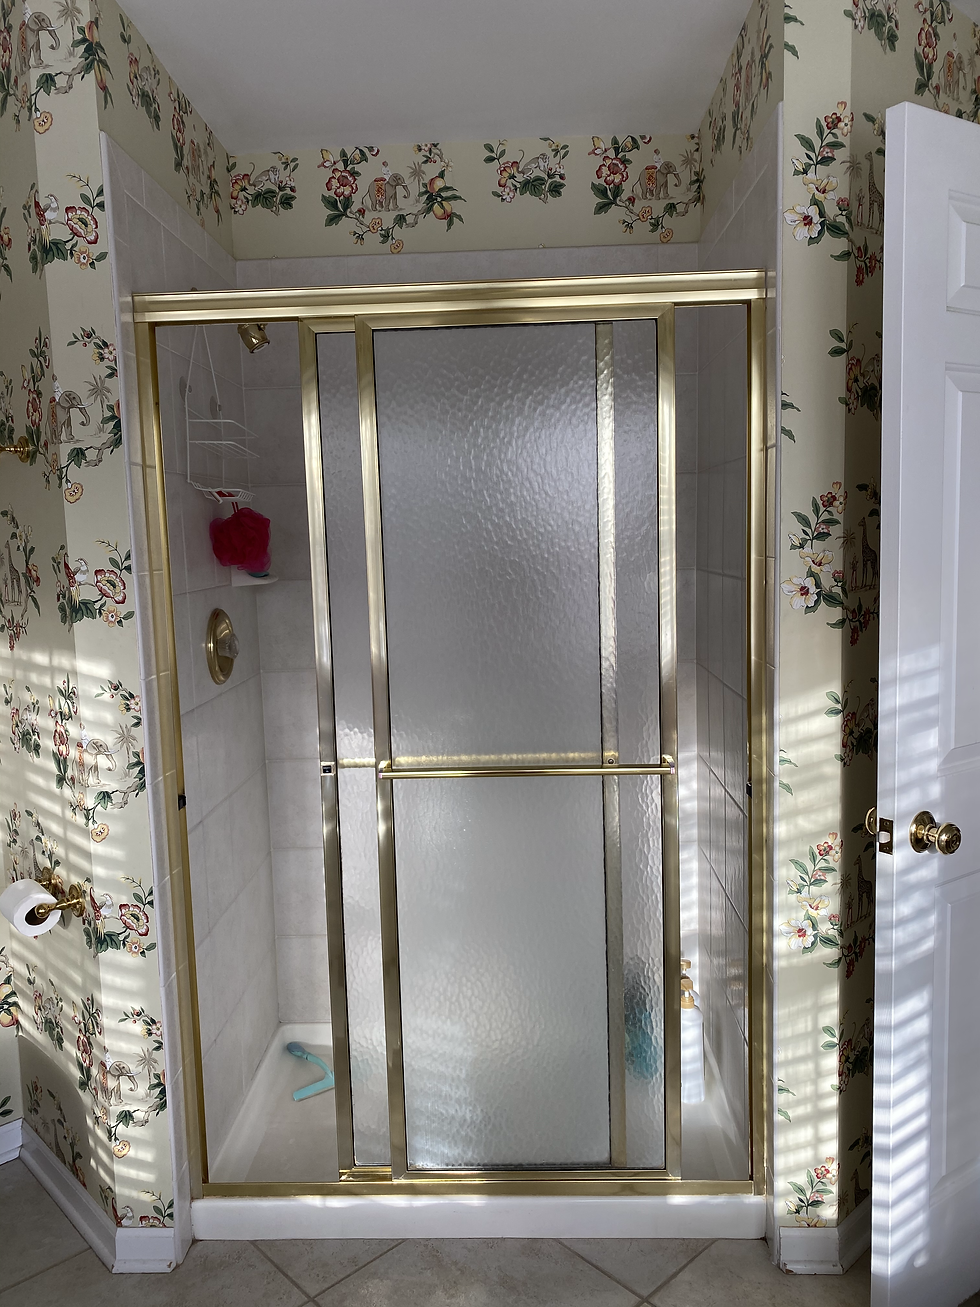
It's finally here! We are renovating our master bathroom! Could not be more excited about this project and thought it would be fun to take you along :) Before we begin, let's take a look at the current master bathroom.
We are calling this post Part 1 as there could be several parts LOL! So far Part 1 has involved the amazing interior design work from my sweet friend Molly! This girl is amazing and her design work is incredible. We pretty much told her to do whatever she wants!
So let's begin with her design layout and then stay tuned for all of the fun stuff we have ordered which is currently occupying our playroom and garage.

As you can see we will be moving things around - Jason has never been thrilled about the layout of this bathroom so we decided to change it.
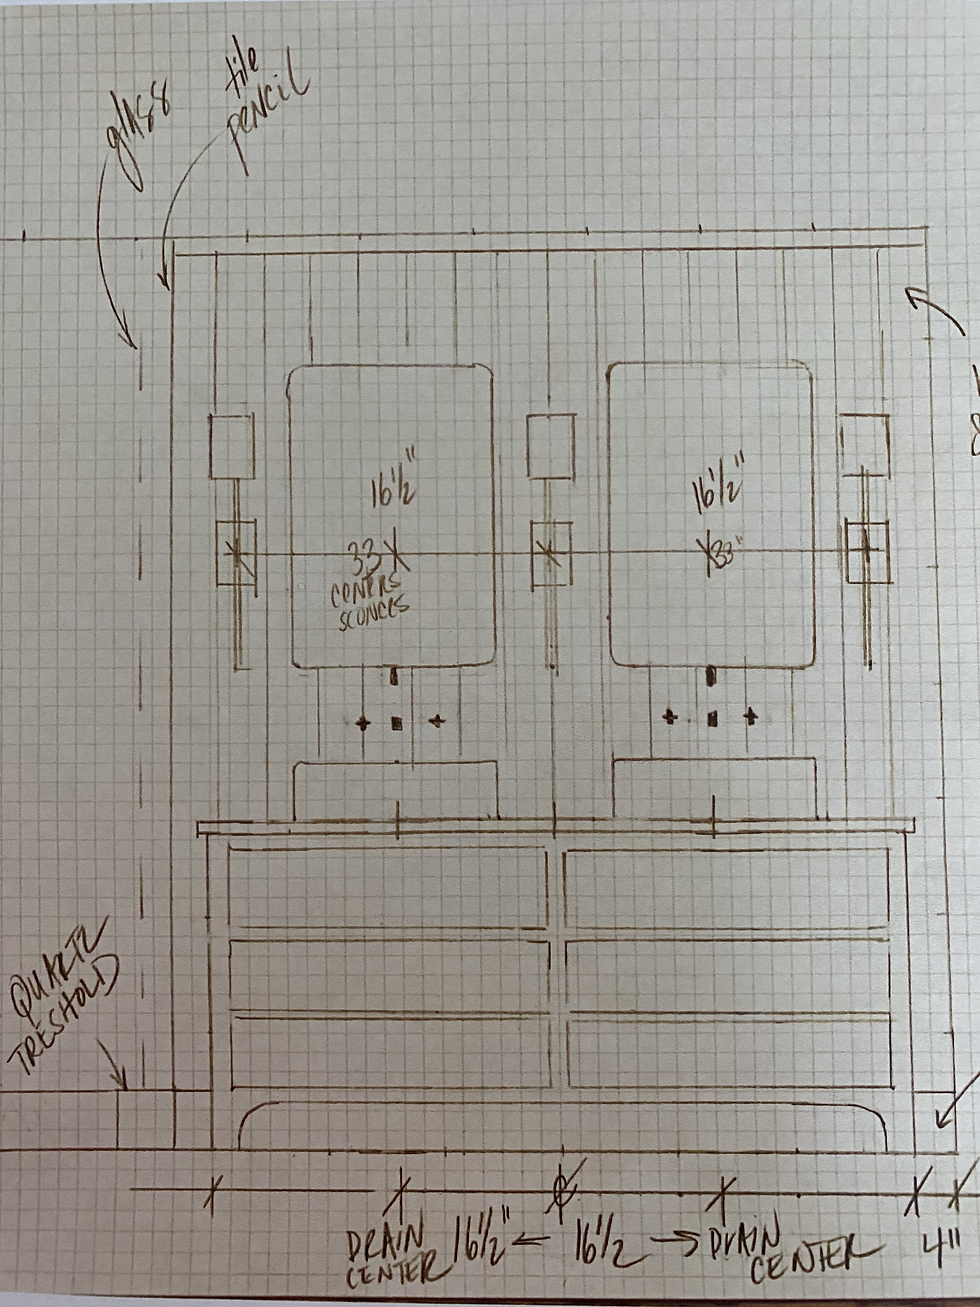
And this time around the vanities are going to be side by side. We have a meeting this weekend with the vanity people - will send you a picture of that as it comes together. We will also be doing vertical shiplap in the bathroom.
Here comes the fun part, all of the stuff! Here is a quick funny story. Jason and I were away this past weekend when the tub came in and apparently because of the snow the guy kind of set it down in the snow and him and Kate pushed it into the garage - he needed her help lol!

I'm already imagining sinking into that tub with a glass of wine!
Here is the sleek faucet that will go with the tub.

Next up is the pendant that will hang over the tub - take a look at me holding it - it's much bigger in person. As Molly said, it's like a big bath bubble :) In love!


Here are the faucets, mirrors, sconces and sinks for the vanity. We will be mixing lots of different metals in the bathroom which makes it more interesting. On a side note, certain items can be found on Amazon and Ebay. It is such a good idea to price shop as I was able to negotiate for a better price on Ebay for some of the items (Molly taught me this :))


Floor and shower tile - this has been the hardest to decide. There is a certain look I want for the floor and I think we finally found it! Here is a picture of the samples.

The plan for the shower tile is to use fireclay tile and make it into a parquet pattern.

I might be most excited for some of the accessories - like this stool and this unique storage basket to hold toilet paper?!


Hope you enjoyed Part 1 and will definitely be posting more as the project progresses. Thanks for reading and have a fabulous weekend!!!!
~Jen


Squarefoot Flooring has been a retail leader in the distribution of Flooring products for 10 Years. We currently provide services in Mississauga, Toronto, Brampton, Oakville, Markham, Richmond Hill. Stoney Creek, Niagara Falls. Hamilton, Ancaster, Burlington, Kitchener, Guelph, Sudbury, Pickering, Ajax, Whitby, Oshawa. We excel in providing a quality product in order to make your dream place a reality and have won the title for “Mississauga’s 2019 favorite business. With over 9000+ options for flooring we bring you the largest variety of styles, materials and colors vinyl flooring to select only the best.